
There are so many reasons for hanging up the skateboard on the wall. You may want to retire an old deck, display your favorite one, or just keep them in order. Hanging a skateboard, however, should not be a dull and boring DIY project. Instead, it may take you just an hour and some mainstream tools to make things perfectly done. This piece of writing will show you three different step-by-step instructions on how to hang a skateboard.
Hang it on a rope
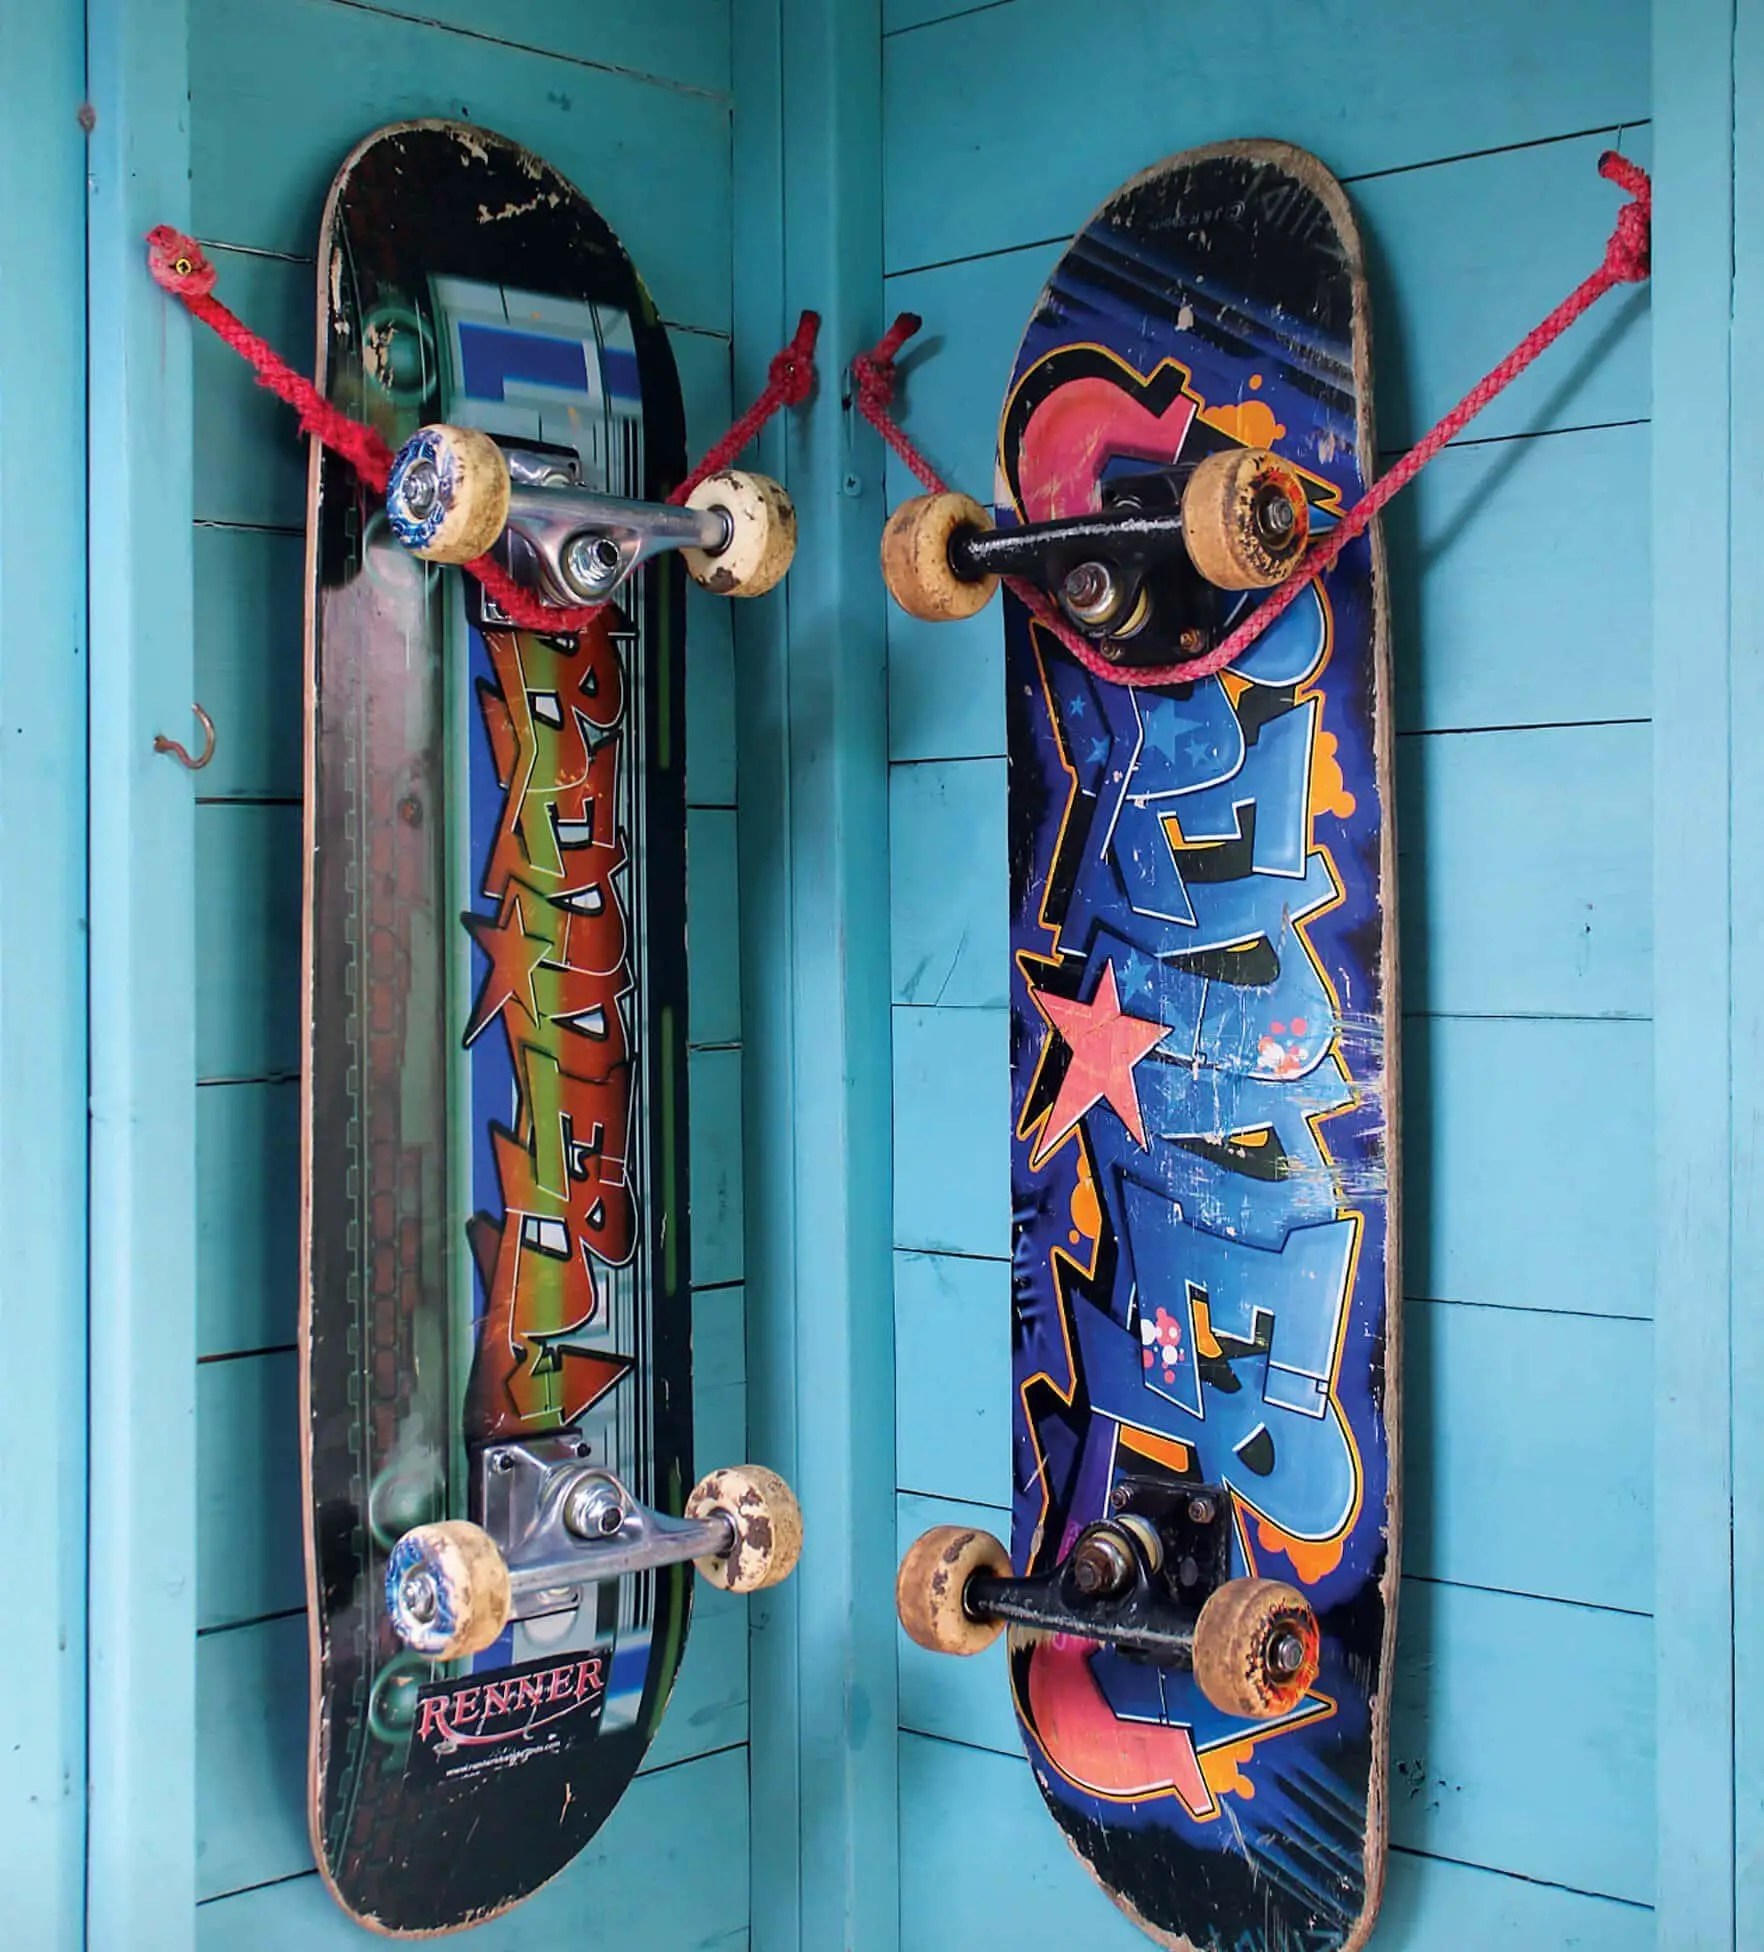
Photo credit: makefuncreating.com
What you need
· Rope
· Sharp knife
· Electric drill
· Screwdrivers
· Two units of 3mm x 30mm screw
· Lighter
· Pencil
· Ruler/ tape measure
What you should note for this method is that quality of the materials. The rope should be strong and durable enough to hold the skateboard on it. The other tools should also offer the ease and excellence of use. How you prepare for the project will heavily affect the amount of time and effort involved.
Another note is that if your wall is a masonry wall, you may need a 5mm masonry bit and 2mm x 5mm wall plugs. The usage of these materials will be included in the instruction below.
How to do
Step 1: Cut the rope
Measure a 650mm (`25.5 inches) length of the rope and cut it apart. This step is critical; you need to ensure the strength and the durability of the rope. As in the end, you will slip the rope over the wheel, and you will do it several times in the future, the wheels may tear the rope after a certain time of using.
A strong and durable rope needs at least 6 mm for its diameter. And the length may vary. Just make sure that the rope’s length is appropriate so that it can fit on the wheels. While cutting the rope, give it a sharp cut. A blunt knife will make it harder to do the next step.
Step 2: Tie the rope
Now you know why a cut from a blunt knife will make it tough to do this step. Before tying the rope, you may need to melt the two ends of the rope. If the rope is made from nylon, this task is crucial. It keeps the rope from fraying in the future.
When tying a knot on the two ends of the rope, you should pull the rope with increasing force. Make the knots as tight as you can to ensure they will not slip out when you secure them with the screws.
Step 3: Mark the wall
This step is easy, yet it needs a little bit of meticulosity. Use a ruler and a pencil to draw two small vertical lines on the wall. The distance between them is 370mm (~ 14.5 inches). A tip to increase the precision of this work is using a masking tape. Stick it on the wall and stand back about 1 meter to level it by eye.
Step 4: Mark the screw spots
As now you have two short vertical lines that are parallel to the wall, draw two horizontal intersecting lines. Similarly, use the pencil and ruler to mark them. And the horizontal lines are, of course, perpendicular to the vertical ones. The two intersecting points are where you are going to screw the rope on the wall.
Step 5: Secure the knots
If your wall is a brick wall, before screwing the knots, you need to drill the holes by using the masonry bit and then add the wall plugs. After that, use the screwdriver to secure the knots with the screws. If your wall is a wood wall, you can just screw directly into it.
Now you have it, a strong rope on the wall to hang your skateboard on. Simply slip the rope over the wheels, and the skateboard will stand perfectly.
>> See more: what size of skateboard should i get
Hang it on the hooks
What you need
· Plastic wall hooks
· Double size tape
· Fishing lines
· Sharp scissors
· Pencil
· Ruler
The most important thing here should be the scissors. As you will cut the fishing line by it, a pair of sharp scissors is the key. Also, make sure the tape can stick long enough on the back of the hooks and the wall surface. Otherwise, your deck will easily fall off. Gravity!
How to do it:
Step 1: Put the tape on
Put the double-size tapes on the back of the hooks. Make sure you put a good stress on them so that they can stand and bear your skateboard for long.
Step 2: Draw the line
Use the pencil and ruler to draw a horizontal line on the wall. What you should note in this step is that the line must be parallel to the floor. Also, the distance from the line to the floor should be high enough to make it a good spot to hang the skateboard.
The line’s length should be 900mm (~35.5 inches) or any length that between ¾ skateboard’s length and its full length. After that, mark the two ends of the lines and the central points of the lines. These three marking points are where you are going to stick your hooks on.
Step 3: Stick the hooks on
Now as you have 3 points on the walls, stick each hook on each point. When sticking the hooks on the wall, make sure they stand right straight. This will help your skateboard hang correctly on them.
Step 4: Insert the fishing line
This step is simple, just put the fishing line into the two bottom holes on the grip side on the skateboard. Then, give it some strong knots. Finally, use the scissors to cut the leftover.
Step 5: Hang it on
Now you are good to go. Just hang the skateboard on the hook by the knot. For more skateboards to hang, simply add more hooks on the wall. See the complete walkthrough in this video.
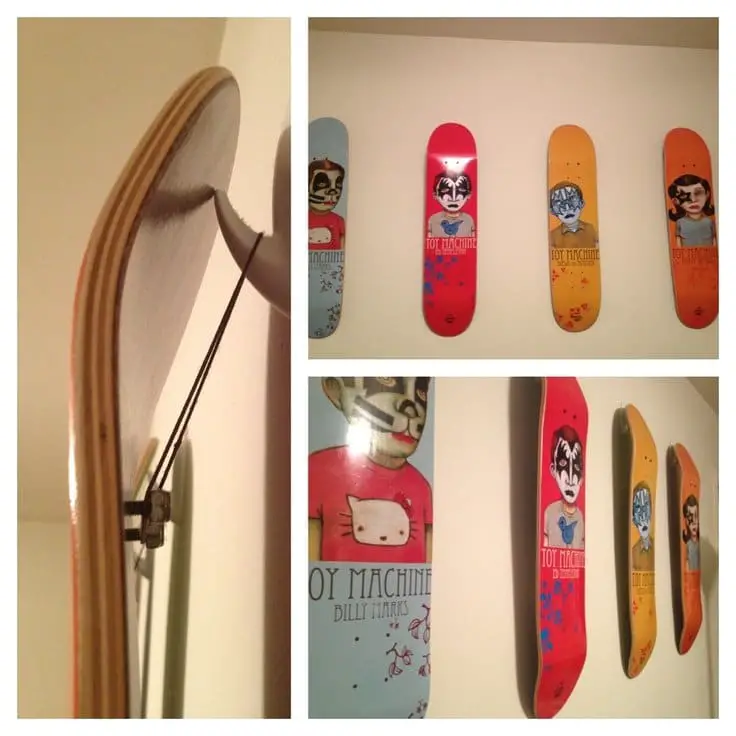
Photo credit: pnterest.com
Hang it on the pushpin/nail

Photo credit: clatl.com
What you need
· Push pin or nail
· Shoelace
How to do
Step 1: Lace the bottom bar
Take each end of the shoelace and put it through the bottom hole and pull it out on the back of the deck. When you create the bottom bar by the shoe lace, ensure the two ends are even.
Step 2: Lace the vertical bars
On the back of the deck, take one piece of your shoelace, put it through the vertical hole to the front of the deck. Repeat the task with the other end of the lace.
Step 3: Tie the shoelace
Once you have both of the ends laced through, simple tie the knot like you are tying a normal shoelace. Also, you need to leave some space to the loop so that you can hang the deck later.
Step 4: Mount the push pin to the wall
Push the pin on the wall and make sure it’s straight. Finally, set the loop on the back of the deck onto the pushpin. Alternatively, you can use a nail instead of the pushpin. But then you will need a hammer to secure it on the wall. Also, you can adjust the slack of the shoelace by tying the knot closer or further away from the skateboard.
Watch this video to visually know how to hang a skateboard this way:
Conclusion
See more: Top The Best Skateboard For Beginners 2019
Hanging a skateboard is a simple task to do. It does not take up much of your time and effort. But please note that you are confident in using the screwdriver and hammer when in need. This piece of writing hopefully provides you with useful instruction on how to hang a skateboard. Enjoy your DIY project!